After laying the foundation for player-defined key binding in Project Spaghetti during last week’s episode of the game development show, we put in a hefty chunk of overtime to get the binding options working for the keyboard as well as for the controller.
As anyone who watched last week’s episode knows, setting up key binding isn’t the most thrilling aspect of game development, and there wasn’t much “thrilling” to be missed in the work we did through the overtime, but it was work that had to be done, and it’s worth summing up exactly what we did, as our goal is to show everything that goes into making a game, from concept to completion. Hold on, it’s going to be a bumpy ride.
The first thing we had to do was show what keys the player was replacing the original controls with. Although this sounds like an easy problem, GameMaker doesn’t come with anything to convert the internal representation of a keyboard key with a string, which meant having to do it manually. Lucky for us, there were a few people out there who had mapped out the internal key numbers to the strings representing them, though we’re still a little worried about international keyboards because the mapping of some symbols, like dashes and apostrophes, etc. can vary. And if Project Spaghetti lands on non-Windows systems, things will get made worse.
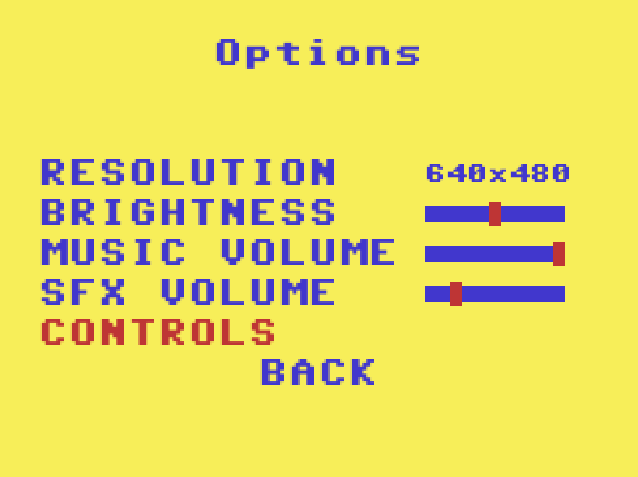
The next step was actually showing which key the player was currently changing, as well as what it was being exchanged with. That required a little less work, but our old way of doing menus would have meant copying and pasting a lot of scripting, so we decided to make the menu display code more efficient. Instead of directly color coding menu options, we put the color for each menu option into a variable, which, at the moment, stores the Commodore 64 “dark blue” (inactive) color or the “red” (active) color. To save time and stress later, we went ahead and fixed all of the menus to use the cleaner system before getting to work switching the key color to “red” when the player hit enter to change it.
With the scripting more compact, and with the ability to represent any key as a string, we only had to create a quick function to convert the key number to the string and display that as part of the key binding menu when players changed it. (Phew, halfway to our goal!)
To prepare for supporting player-defined buttons for the controller, we first needed to allow players to navigate the menus with a controller, and that meant pulling out all the logic from GameMaker’s GUI (which only responds to keyboard inputs) and putting it into script so we could perform the same menu actions regardless of whether a key or a button was used to select the action.
Once we were able to navigate down into the control configuration menu with a controller, we had to handle splitting key binding between the keyboard and the controller. If a player presses a button to change the Shoot command, the input they likely want to update is the controller input, for example switching Shoot from the X button to the Right Trigger. If, on the other hand, a player presses Enter on the keyboard, they likely want to change the keyboard key for the Shoot command, for example from “Ctrl” to “Z”. To make it as user-friendly as possible, we split whether the key or the button is updated based on what input method was used to select the command (Shoot/Dodge/Pause) for updating. We also grayed out the movement options for the controller, though we might bring that back to allow for switch which analog stick controls the cowboy in case players have a preference.
Of course, we had to switch all of the hard-coded button names we added to the game two episodes ago to a variable which could be updated, but once we got that done, we were able to duck, shoot and pause with any button we wanted. (Tested and working!)
One thing with the controller we’re still not quite happy with is not knowing what kind of controller is plugged in because GameMaker hides that from the script. If we could figure out whether it was an Xbox 360 controller, a PS3 controller or some other controller, we could present the symbols to fit the situation. For example, what would be “X” on the Xbox 360 controller should be a Square for the PS3 controller, or just “Button 1” for other
controllers. We’ll continue to look into this, but we may just get stuck with having to use generic text to cover any controller.
Overall, it was about eight hours worth of overtime work, but we’re glad we got it out of the way so we could move on to new tasks and save you from having to suffer through four episodes of menu script fiddling!

And here’s the solution to the Xbox vs. PS3 vs. Other controller issue!
http://docs.yoyogames.com/source/dadiospice/002_reference/mouse,%20keyboard%20and%20other%20controls/gamepad%20input/gamepad_get_description.html